Graphics Files
Each graphics file consist of:
- The graphic scene: The visual representation of your design.
- Metadata: File information such as title, description, and tags.
Metadata Fields
- Title: The name of the file.
- Description: A short summary visible in the Editor, Gallery, and Store.
- Tags: Keywords used for searching.
- Workspace: The file’s storage location.
- Final Flag: “Locks” the file to prevent further edits. To modify, duplicate or unlock it.
- Thumbnail: A preview image in the Gallery and Store.
Creating & Managing Graphics Files
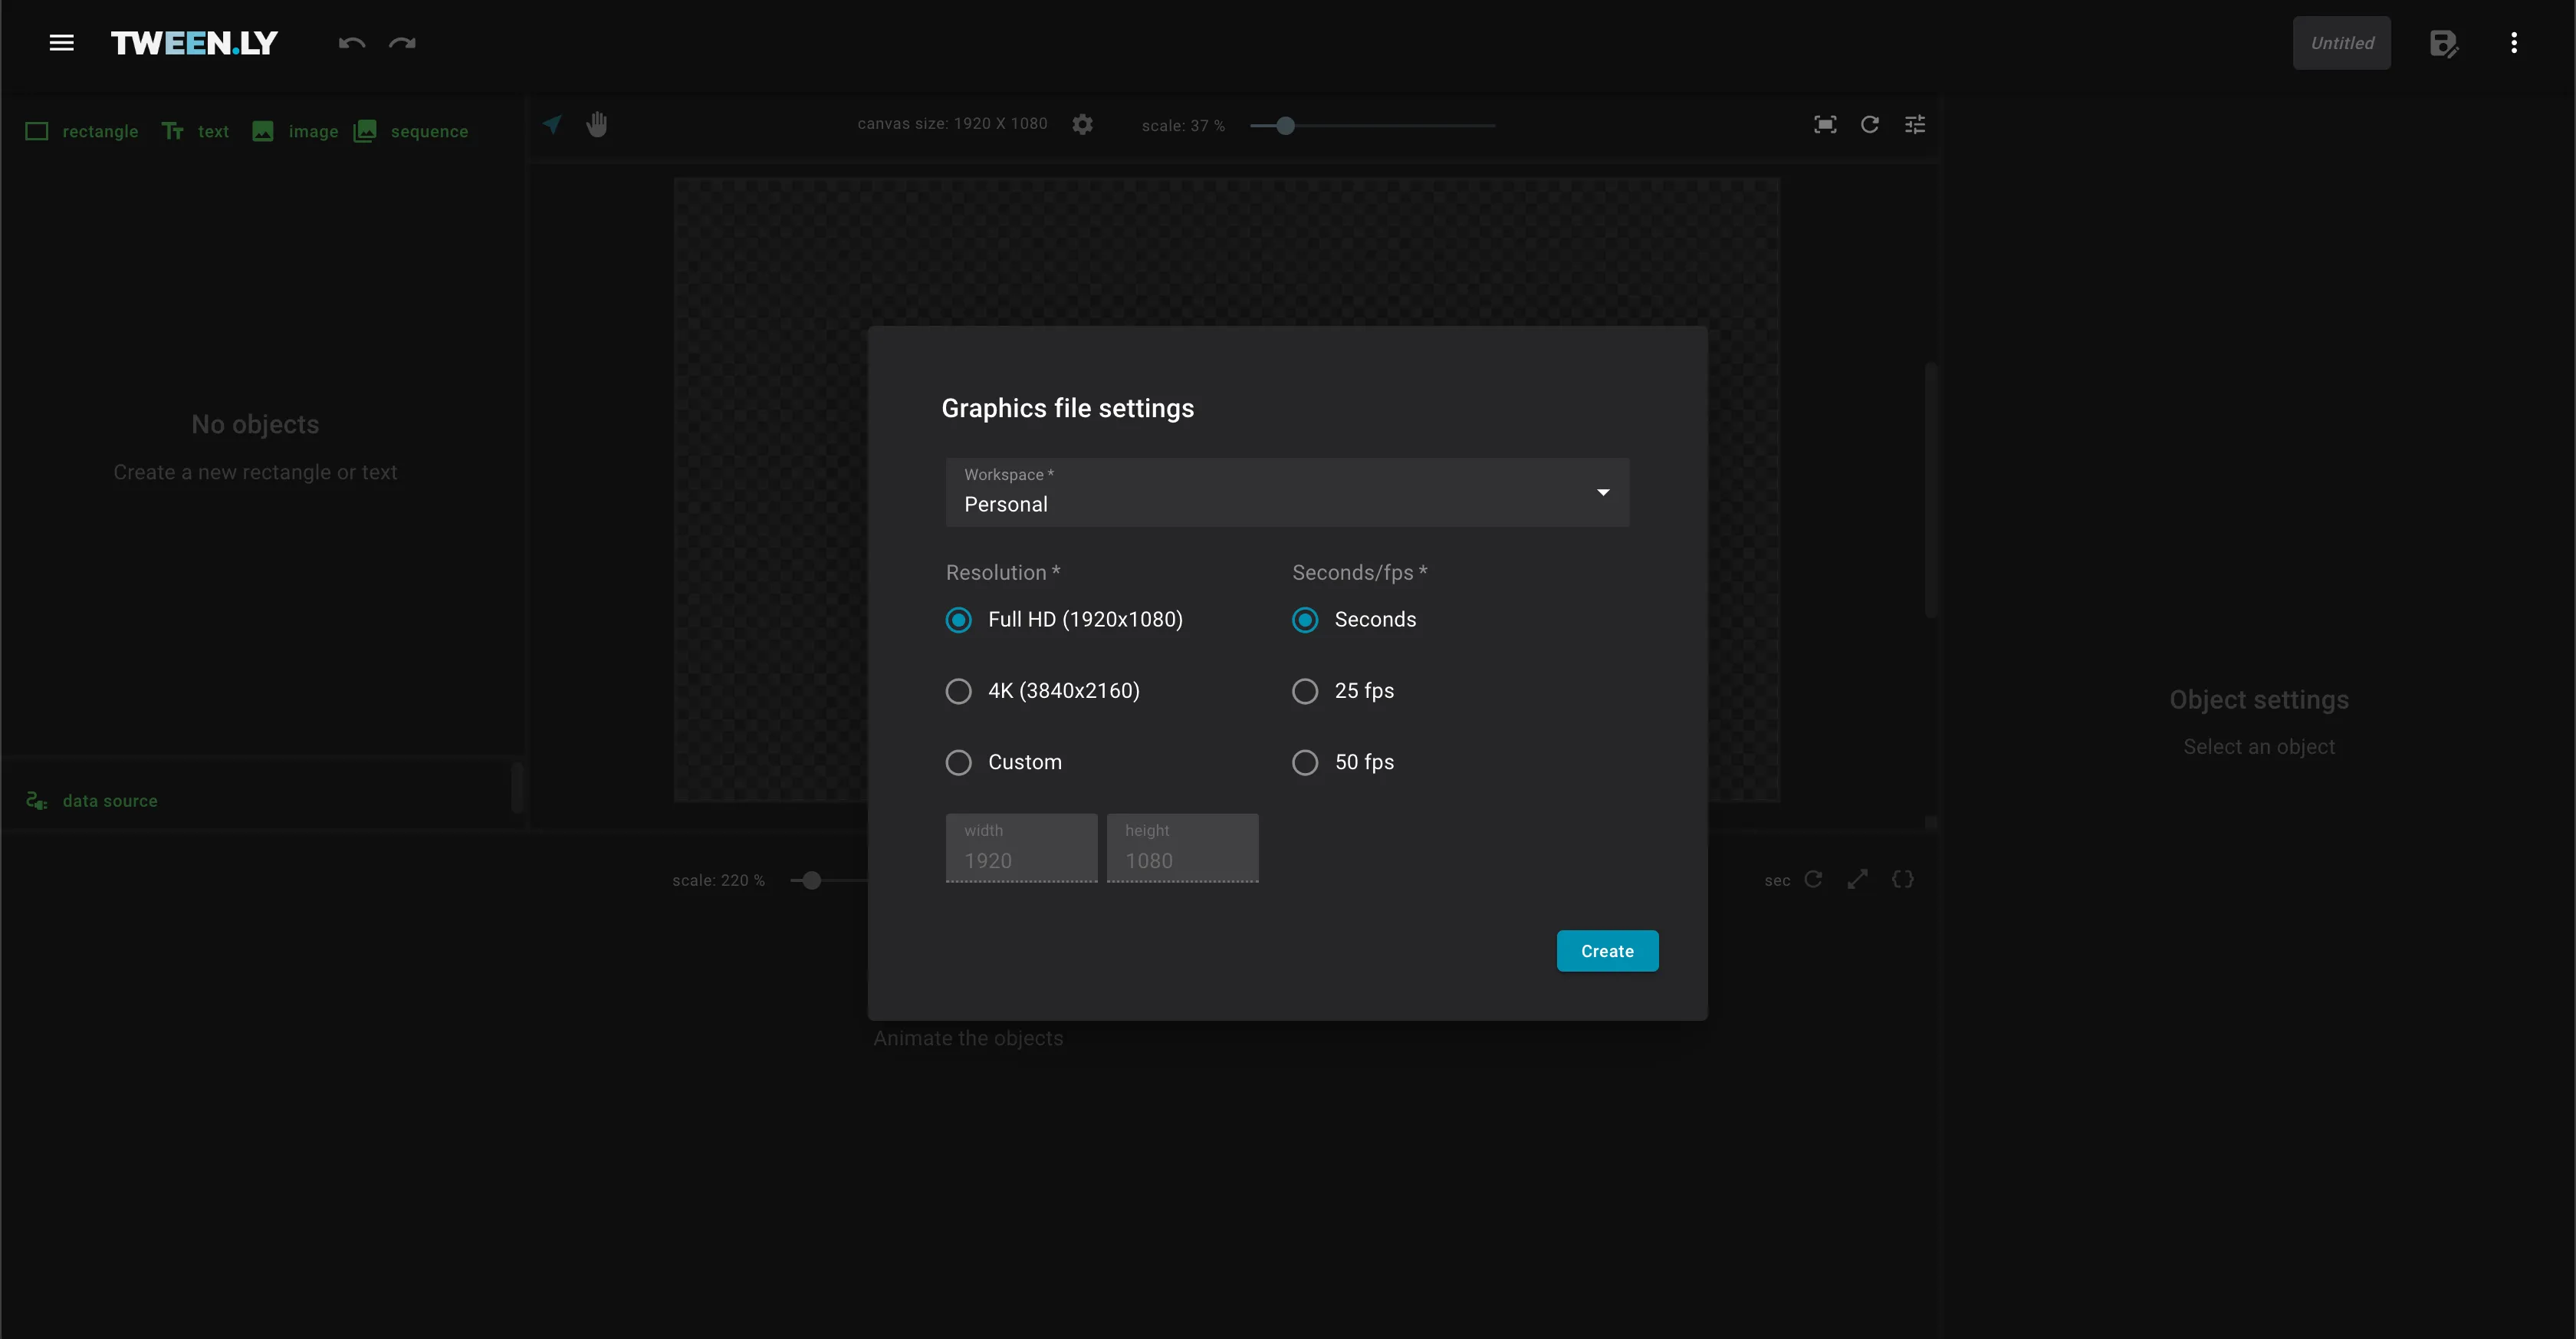
Creating a New File
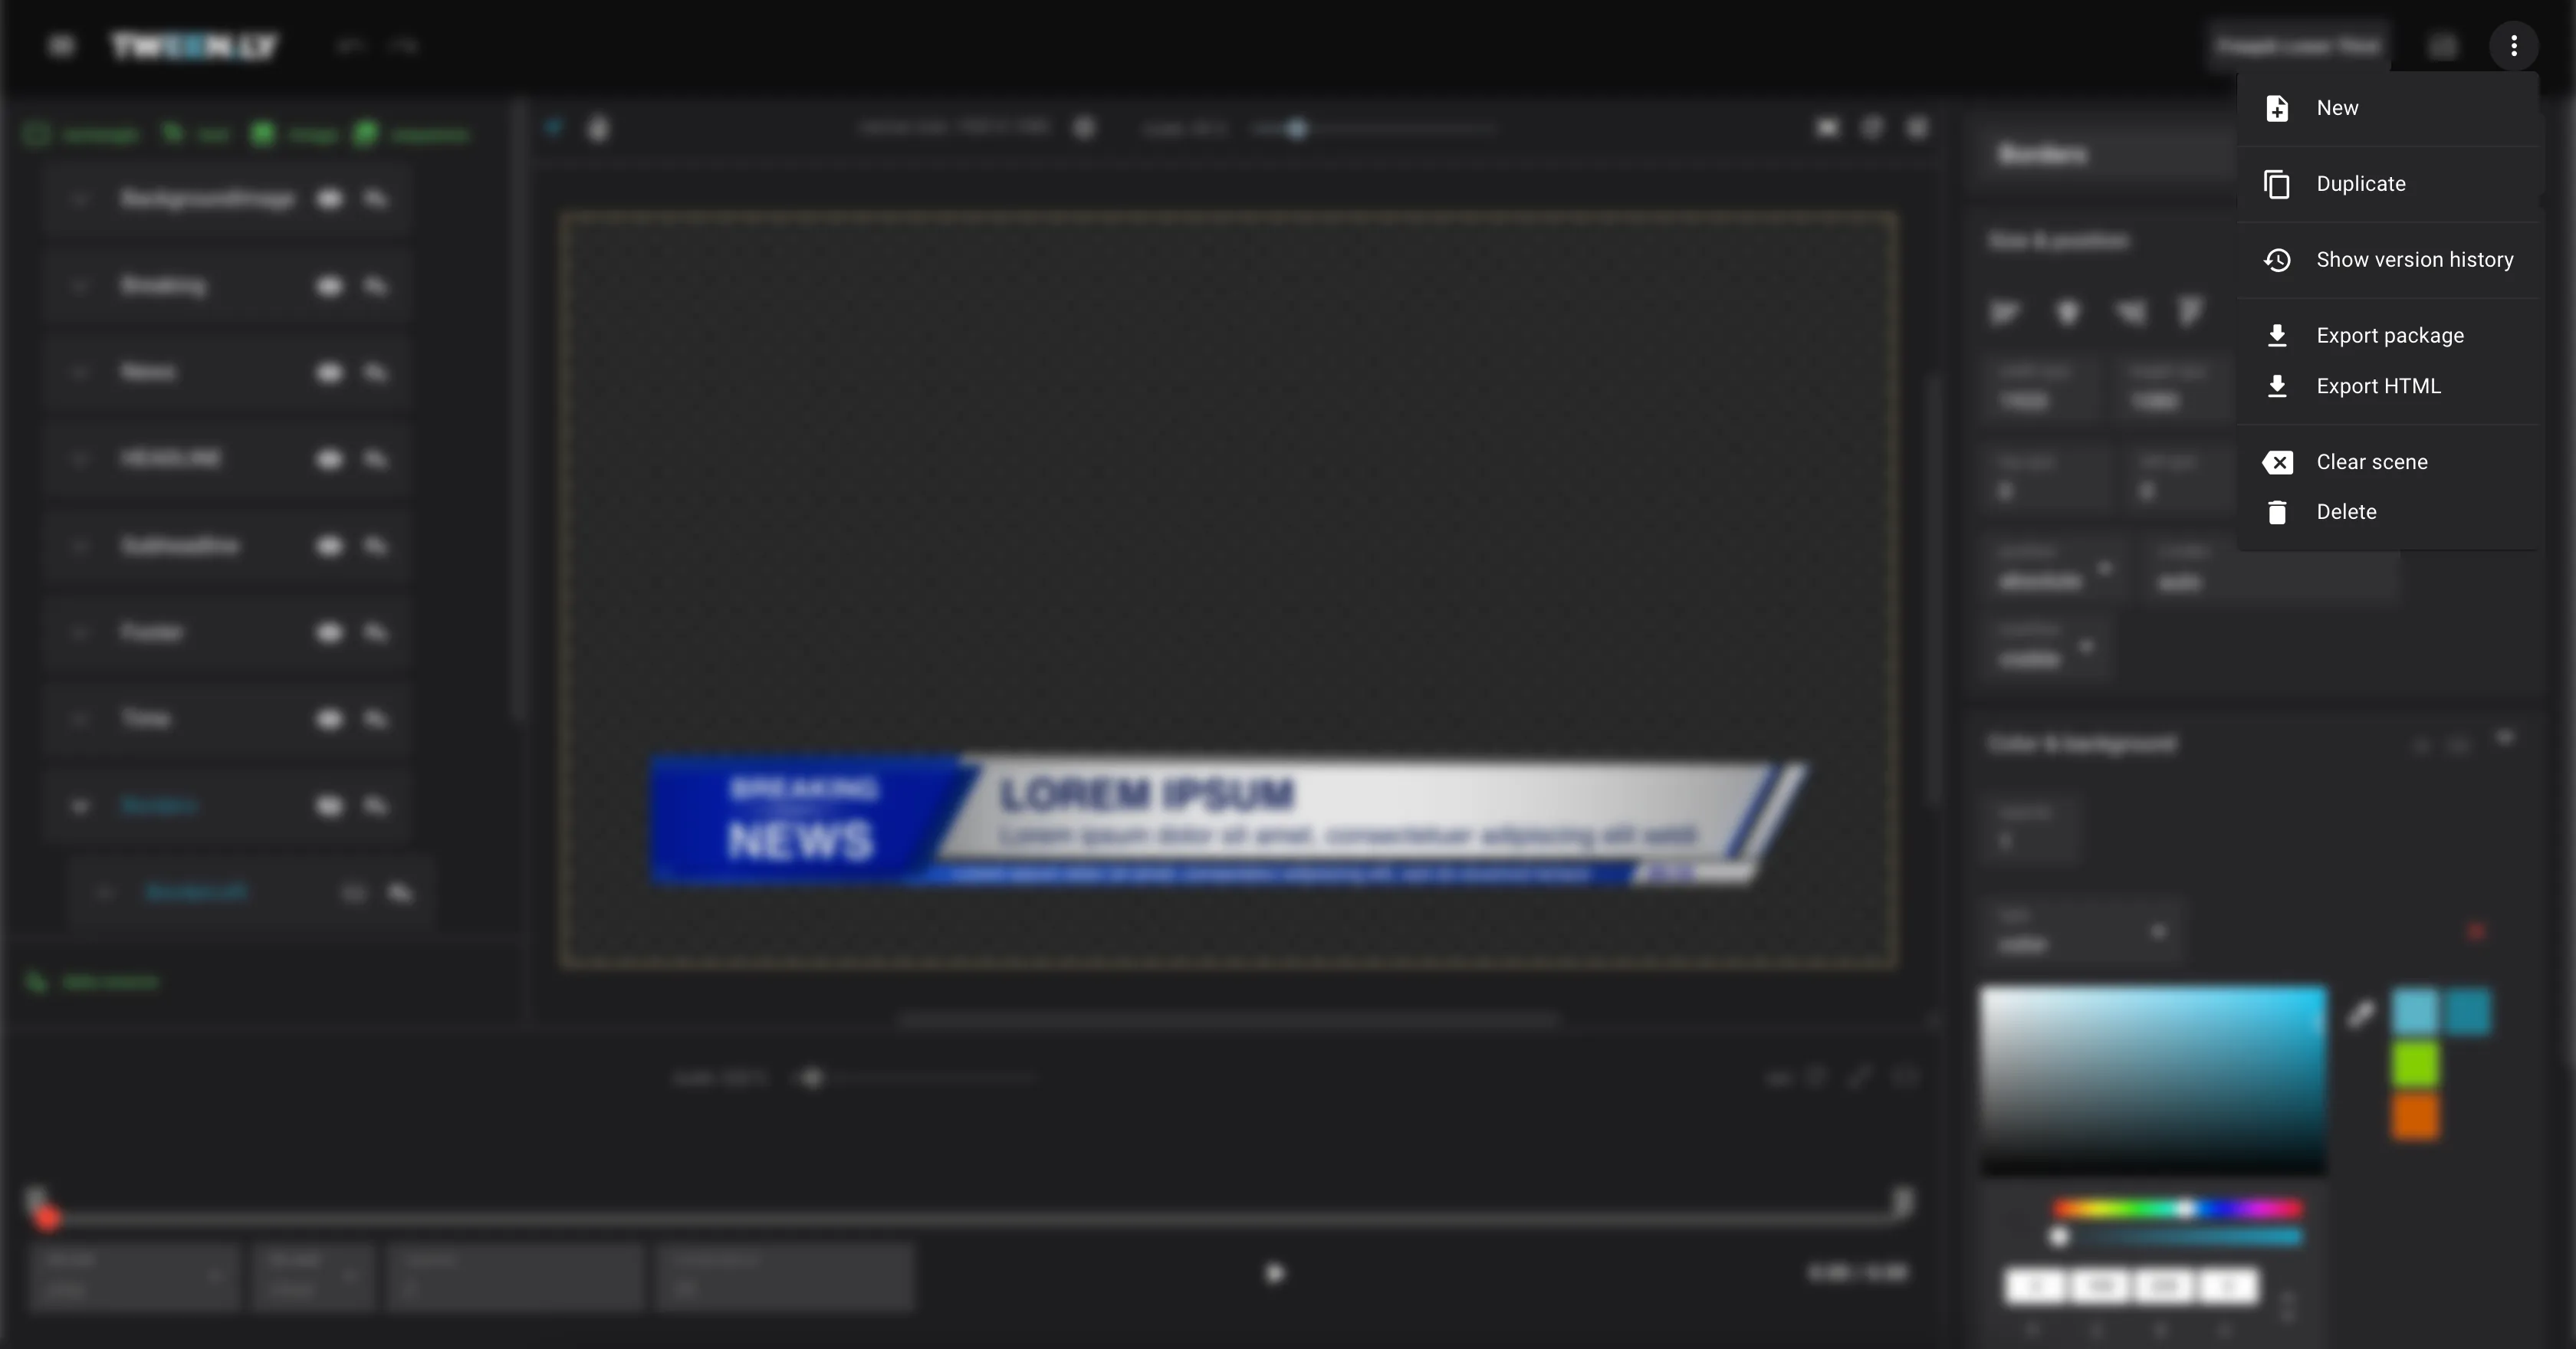
- Open the More menu in the top bar.
- Select New to clear the canvas and start a new file.
Saving a Graphics File
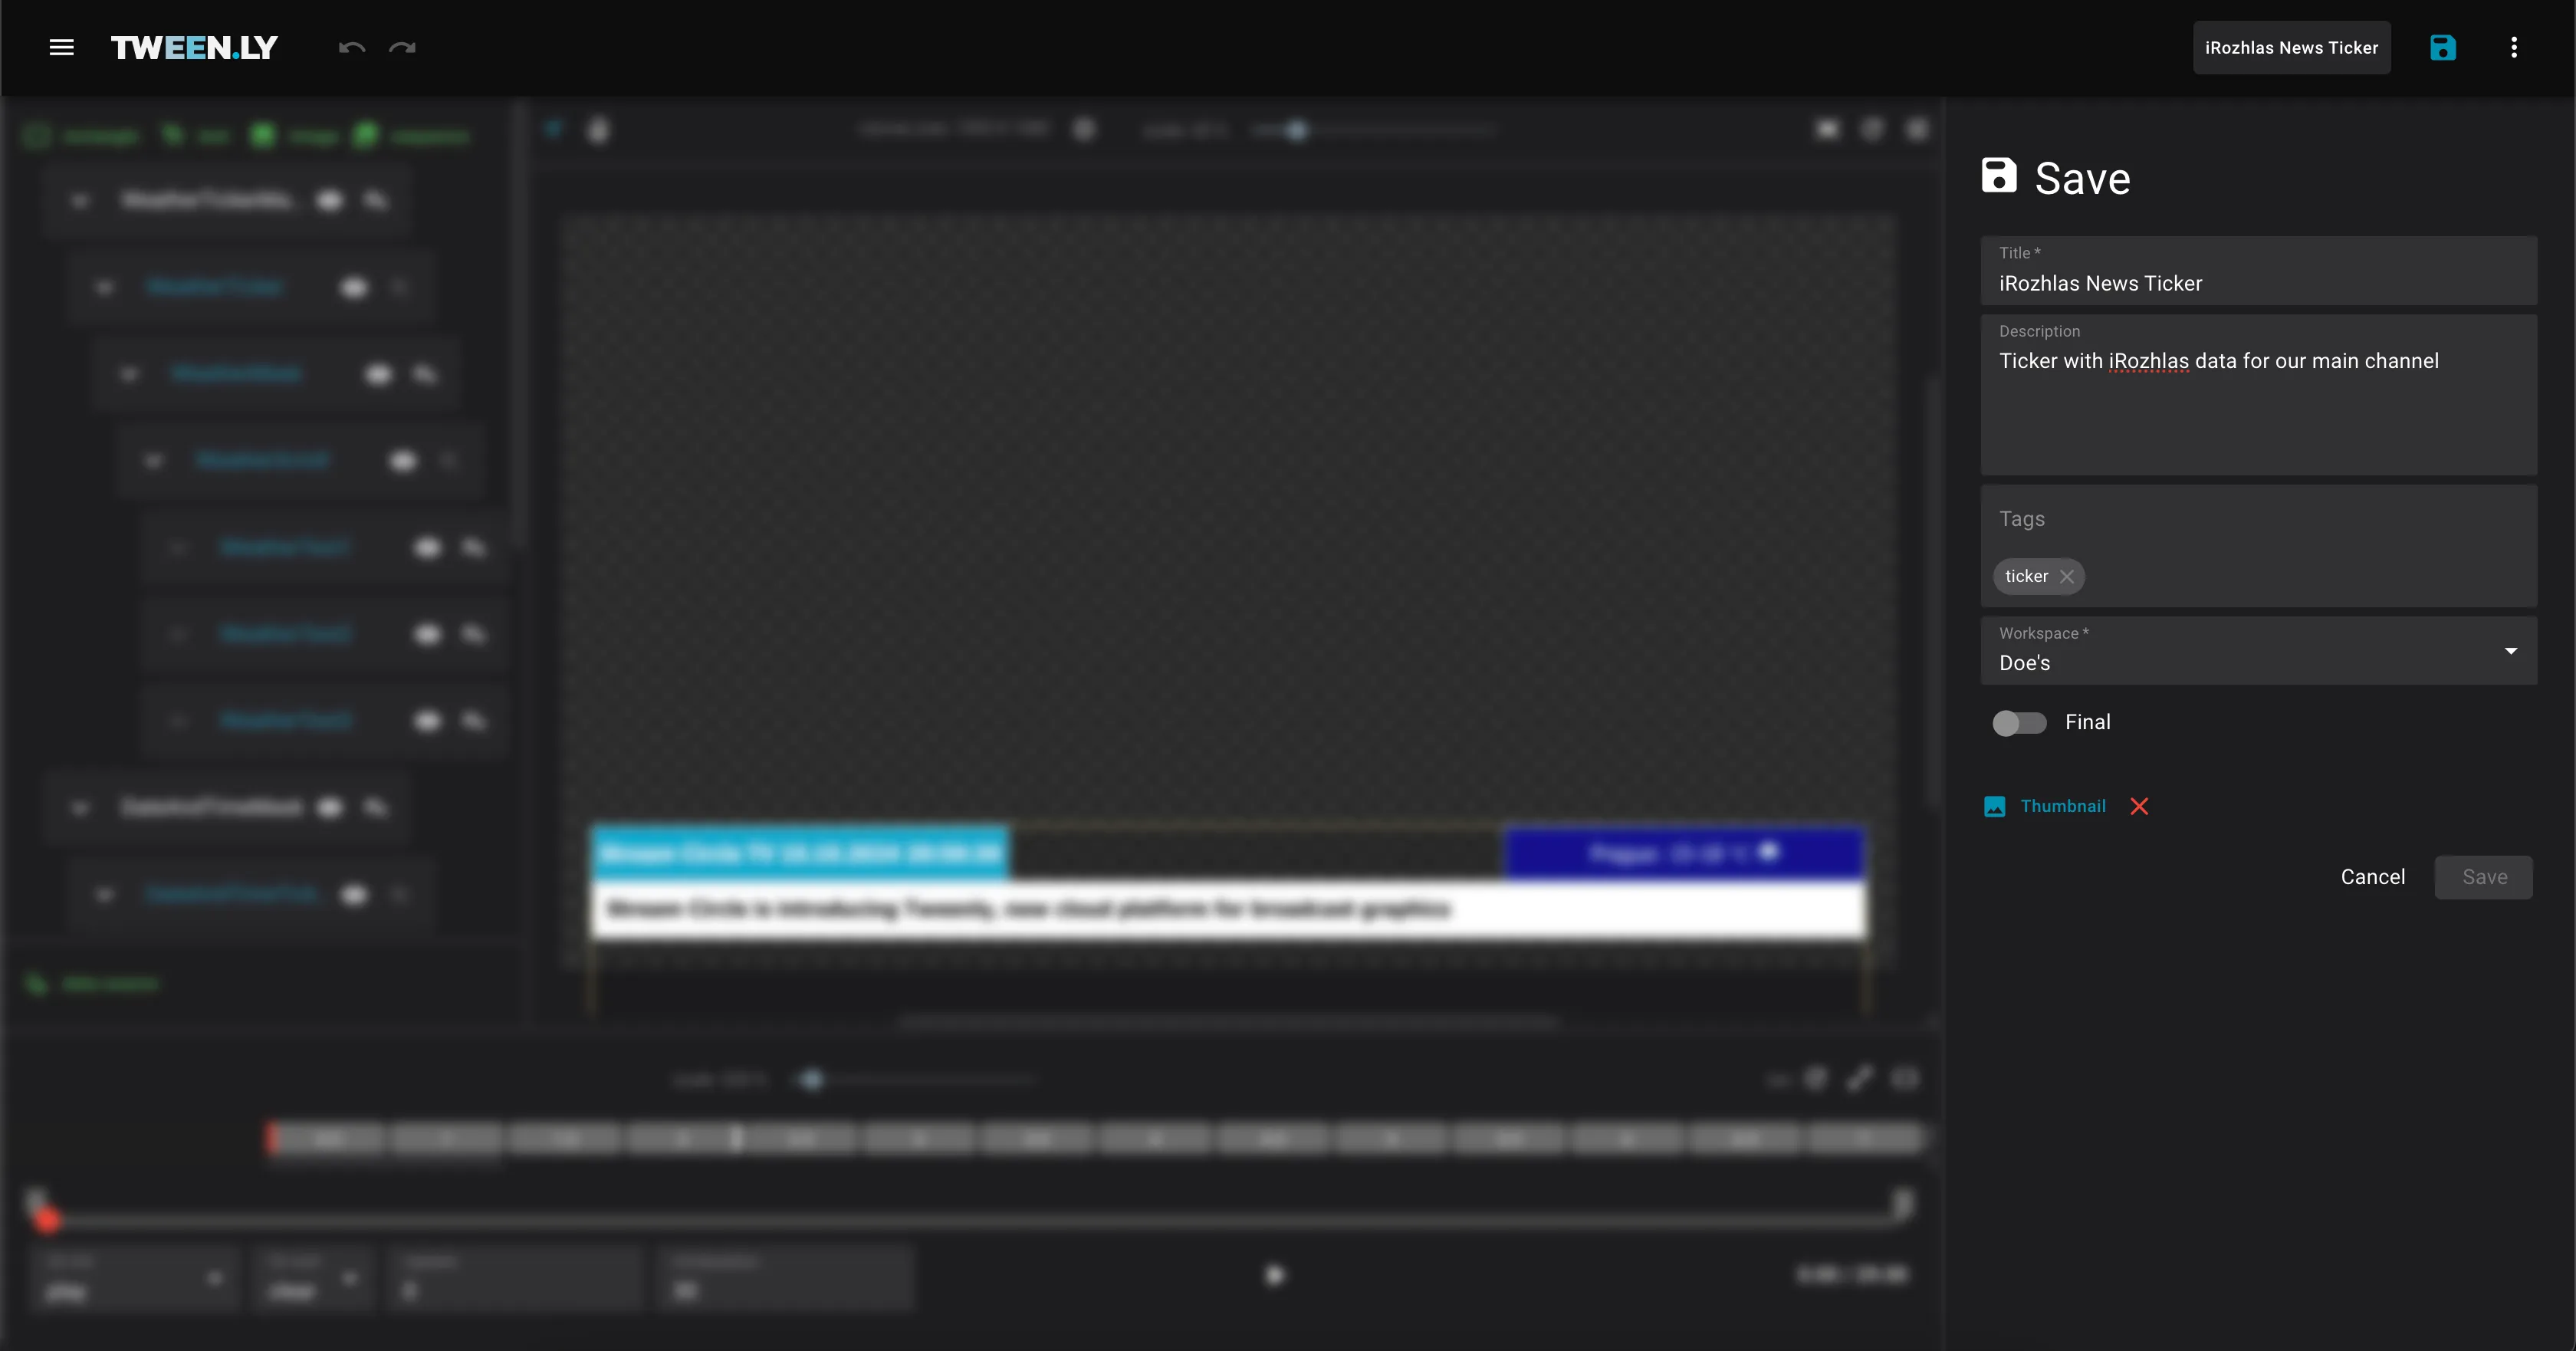
First-Time Save
- Ensure the scene contains at least one object.
- Click the Save in the top bar.
- Enter Title, Description, Tags, and Workspace.
- Click Save. The file is now stored in the Gallery.
Quick Save
- Click Save icon in the top bar anytime to save changes without modifying metadata.
Updating Metadata
- Click on the filename to open the metadata form.
- Edit the title, description, or tags.
- Click Save to update.
Duplicating a Graphics File
Duplicated files retain all objects, animations, and settings.
- Open the More menu in the top bar.
- Click Duplicate.
- Update metadata if needed.
- Click Duplicate to create a new file.
Clearing vs. Deleting a File
Clearing the Scene
- Removes all objects from the canvas but keeps metadata.
- Use when you want a fresh start without losing file info.
- To clear the scene, open the More menu and click Clear.
Deleting a Graphics File
Deleted files cannot be recovered. If the file was published in the Store, it will no longer be available for purchase.
- Open the More menu.
- Click Delete to remove the file permanently.
Exporting a Graphics File
Graphics files can be exported in two formats, depending on how you plan to use them:
1. Package (Recommended)
Exports the entire file with all assets included in a single folder (ZIP). This ensures offline access, smooth playback, and independence from an internet connection.
2. HTML Export
Creates a lightweight HTML file, while storing all linked assets (such as images, and fonts) online. This option minimizes file size but requires a stable internet connection and access to the asset repository.